- Empty cart.
- Continue Shopping

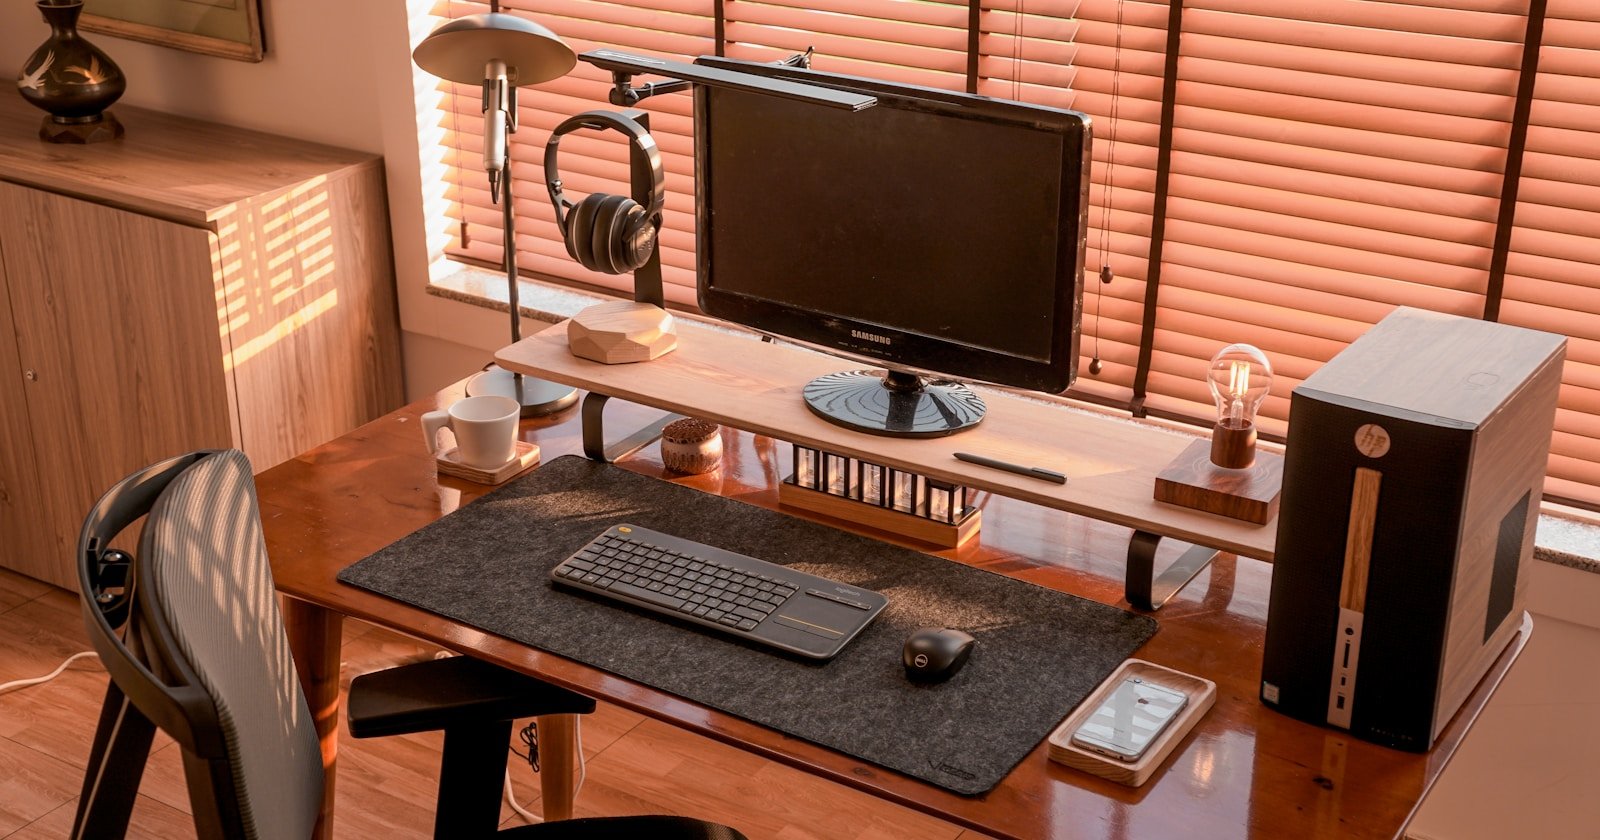
Cable Management for Desks Without Grommets: Trays, Ties, and Under-Desk Rails
- Posted on
polar_meter_73@icloud.com
- 0
- Categories: Guide
Messy cables aren’t just an eyesore—they’re a daily annoyance.
They catch on your feet, dangle in plain view during Zoom calls, and make even the cleanest desk setup feel chaotic. But here’s the challenge: not every desk comes with grommets—those handy holes built into the surface to route your cables.
If your desk doesn’t have grommets, don’t worry. That doesn’t mean you’re doomed to a jungle of wires.
In fact, with the right combination of trays, ties, and under-desk rails, you can achieve a clean, clutter-free cable setup that looks just as polished (if not better) than a grommet-equipped desk.
In this post, we’ll show you exactly how to build a professional-grade cable management system—no grommets, drilling, or damage required.
Why Cable Management Matters (More Than You Think)
At first glance, hiding wires might feel like an aesthetic choice. But great cable management does much more than make your workspace look good:
- Improves focus by reducing visual clutter
- Prevents cable damage and accidental unplugging
- Makes cleaning easier (no more dust nests under your desk)
- Reduces tripping hazards and snag risks
- Protects sensitive tech from tugged connections or tangled power bricks
Whether you’re working from a minimalist desk in your bedroom or a multi-monitor setup in a shared home office, a smart cable strategy transforms how your space feels and functions.
The Problem with Desks Without Grommets
Desks without grommets limit your ability to route cables from the desktop down to the floor cleanly. Instead, you get:
- Wires hanging over the back or sides of the desk
- Power cords draped like vines down to the wall outlet
- Chargers and USB hubs cluttering your work surface
- Cables tugging on accessories every time you adjust something
Thankfully, with the right gear and techniques, you can bypass grommets entirely and still enjoy total cable control.
Step 1: Plan Before You Attach Anything
Before you start sticking trays and ties everywhere, take a few minutes to map out your cable needs. This saves you time and keeps things modular.
What to Consider:
- How many devices need power? Laptops, monitors, lights, etc.
- Where are your wall outlets located?
- What needs frequent unplugging or access?
- Are your cables long enough to reach once routed properly?
- Do any devices move often (like a sit-stand desk or laptop)?
Once you’ve got the layout clear, you can begin organizing everything by category: power, data, video, and accessories.
Step 2: Mount a Cable Tray Under Your Desk
Your best friend for cable management without grommets is the under-desk cable tray.
Why Trays Work:
- Hold power strips, adapters, and excess cable
- Keep everything off the floor and out of sight
- Work on virtually any desk size or material
Tray Options:
1. Clamp-On Cable Trays
Great for renters or anyone who wants a no-drill setup. These trays attach to the edge of your desk using simple clamps and can be repositioned later.
2. Adhesive or Screw-Mounted Trays
More permanent and often stronger. Use if you don’t mind small screw holes underneath your desk—or go adhesive for a drill-free alternative (just make sure the surface is clean and flat).
3. Mesh or Wire Cable Baskets
Breathable and flexible. These are ideal for larger power strips or cable bundles.
Pro Tip: Place the tray toward the back center of the desk underneath. This keeps wires centralized and minimizes visibility.
Step 3: Use Cable Ties and Velcro Straps to Group and Tame
Cables left loose are cables that tangle, sag, and annoy. The key to a polished setup is bundling.
Cable Wrangling Tools:
1. Velcro Straps
- Reusable, adjustable, and gentle on cables
- Great for grouping wires by device or direction
- Best for setups you tweak often
2. Cable Ties (Zip Ties)
- Strong, permanent solution
- Ideal for cables that won’t move
- Trim the ends for a cleaner finish
3. Twist Ties
- A simple, DIY-friendly option
- Good for temporary setups or travel
Group cables into categories (e.g., all monitor cables, all power cables) and bundle them together. Leave a little slack at both ends for flexibility.
Step 4: Use Under-Desk Rails and Channels for Routing
Cable trays are great for storage, but under-desk rails and raceways are how you route wires neatly from A to B.
Popular Options:
1. Adhesive Cable Channels
- Stick to the underside or back edge of your desk
- Ideal for guiding cables horizontally
- Paintable and low-profile for invisibility
2. J-Channel Raceway
- Open-face design for easy cable drops
- Mount under the desk or along the back edge
- Perfect for hiding monitor and USB cables
3. Cable Spine or Snake
- Routes cables from desk to floor in an organized column
- Great for height-adjustable desks
- Helps prevent cable strain and tangling
Use these rails to run wires cleanly from the back of your monitor or docking station to your tray or power outlet.
Step 5: Manage the Desktop Without Grommets
Just because your desk lacks grommets doesn’t mean your surface has to be messy.
Desktop Cable Solutions:
1. Cable Clips and Holders
- Stick these to the back edge or underside of your desk
- Keep cables (chargers, USBs) from sliding off
- Especially useful for laptop and phone charging setups
2. Weighted Cable Organizers
- Sit on top of the desk
- Hold charging cables where you need them
- Great for quick plug-and-go devices
3. Docking Stations and USB Hubs
- Mount hubs under the desk with adhesive
- Use short cables from the computer to the hub
- Route everything else from the hub to the tray
Keep your work surface clean by handling extra cord length underneath and only pulling up what you use daily.
Step 6: Don’t Forget Power Strip Placement
Power strips are often the messiest part of cable management—and also the most important.
Best Practices:
- Mount the power strip inside the cable tray or directly under the desk with adhesive or brackets
- Use a power strip with surge protection for safety
- Route the main power cord cleanly down one desk leg using clips or a cable spine
- If you need frequent access to plugs, consider a desktop power grommet alternative that mounts on the edge
Keep power centralized under the desk, not dragging along the floor.
Step 7: Clean Floor-to-Outlet Transitions
Now that everything under the desk is tidy, finish the setup by cleaning up the run from your desk to the wall outlet.
Finishing Touches:
- Use a cable sleeve or cord cover to bundle wires heading to the outlet
- Use adhesive wall clips or floor channels to keep the bundle flush and out of the way
- Match the cover color to your wall or floor for a low-profile look
- Label the plugs at the end to make unplugging easy later
This step makes your entire setup look intentional—not just hidden.
Cable Management Without Grommets: Real-World Layout Example
Let’s say you have:
- A standing desk with no grommets
- Two monitors
- A laptop and docking station
- One desk lamp
- External speakers
- And a mess of cables
Here’s what your layout could look like:
- Cable tray under desk holds power strip and excess cable
- Velcro straps bundle monitor and power cables
- Cable channels route wires across underside of desk
- Cable clips hold laptop charger and headphone cable at the edge
- Cable spine neatly routes everything to the floor
- Floor cord cover runs to wall outlet
- Nothing visible from the front or sides
It looks professional, stays modular, and didn’t require any desk modifications.
Final Tips for Clean Cable Management
✅ Always leave a bit of slack—tight cables wear out faster
✅ Keep data and power cables separate if possible
✅ Use labels if you have lots of similar-looking cables
✅ Clean dust and debris from cable trays monthly
✅ Consider color-coordinated cables or sleeves for a minimal look
Final Thoughts: Clarity Without Grommets
You don’t need a fancy desk with built-in holes to achieve a clean, organized, high-performance setup. With a few cable trays, straps, and smart routing tools, even a basic table or vintage desk can be transformed into a cable-free zone.
At TheWFHClub.com, we believe your workspace should be functional, inspiring, and easy to manage. Cable clutter doesn’t belong in your workflow, and you don’t need a renovation budget to fix it.
Build smarter. Hide better. Work cleaner.
Let your cables disappear—without drilling a single hole.


